“How to Make Whipped Honey” is a simple yet rewarding process that transforms ordinary honey into a smooth, creamy delight. This guide will show you how to make whipped honey at home with easy steps, helpful tips, and creative uses. From the tools you need to troubleshooting common issues, we’ve got you covered. Let’s dive into the sweet world of whipped honey!
Let’s kick things off with the basics, shall we?
Table of Contents
Introduction to Whipped Honey
What Is Whipped Honey?
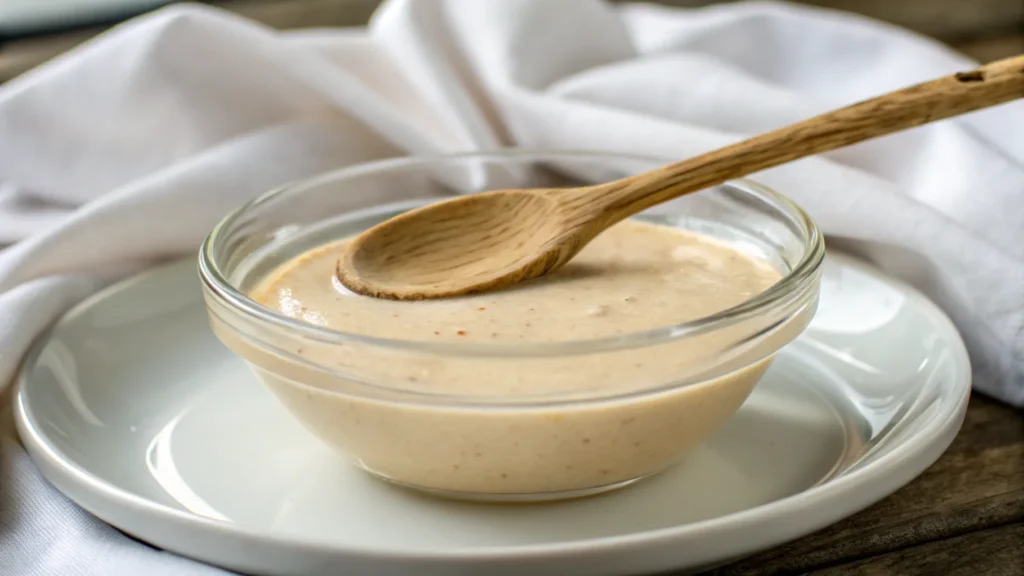
Whipped honey isn’t whipped in the same way cream or frosting is. Nope, there’s no air involved here! Instead, it’s honey that’s been carefully crystallized into a smooth, creamy consistency. The magic happens by controlling how it crystallizes—making it thick, rich, and spreadable. Think of it as honey’s sophisticated cousin.
If you’ve ever struggled to spread liquid honey on toast without making a sticky mess, you’ll appreciate whipped honey. It’s velvety, smooth, and oh-so-easy to use.
Why Whipped Honey Is Popular
Why’s everyone raving about this creamy treat? For starters, it’s incredibly versatile. Spread it on toast, stir it into your morning tea, or drizzle it over fresh fruit—it’s a quick upgrade. Plus, it doesn’t drip or create a sticky mess. For those who enjoy gifting homemade treats, it makes for a thoughtful and tasty present.
Health Benefits of Whipped Honey
You might be wondering: does this process affect honey’s nutritional benefits? Good news—it doesn’t! It keeps all the natural goodness intact, like antioxidants, enzymes, and beneficial properties. It’s simply a more convenient way to enjoy this sweet treat. And for anyone mindful of sugar intake, it’s still a natural and healthier option than processed alternatives.
The Science Behind Whipped Honey
What Makes Whipped Honey Unique?
You know how regular honey can sometimes get grainy or clumpy over time? That’s all thanks to crystallization, a natural process where the sugars in honey form crystals. Whipped honey takes advantage of this process but keeps it under control, resulting in a super smooth texture instead of a gritty one.
By encouraging tiny, uniform crystals to form, you get that creamy, luxurious texture that makes it so special. Unlike standard honey, it spreads like butter but still tastes like the sweet liquid gold we all love.
How Crystallization Works in Honey
Here’s the deal: honey is mostly sugar—fructose and glucose, to be exact. Over time, glucose separates from the water and forms crystals. That’s why you sometimes find a jar of honey that’s turned solid in your pantry (don’t worry, it’s still safe to eat!).
When preparing this treat, you “seed” the process by adding fine crystals of crystallized honey to liquid honey. This encourages the crystallization to stay small and uniform, resulting in that creamy, smooth texture. Think of it as teaching the honey to follow the rules!
Differences Between Whipped Honey and Regular Honey
So, what makes this type of honey special compared to the regular kind? Well, for starters, it won’t drip or run, making it perfect for toast or baked goods. It also lasts longer in its creamy state since the crystallization is stabilized. Plus, it has a richer, more indulgent mouthfeel, making it a favorite among honey enthusiasts. If you’ve never tried it, trust me—it’s a game-changer.
Ingredients and Tools Needed to Make Whipped Honey
Essential Ingredients for Whipped Honey
You’ll be happy to know that making whipped honey doesn’t require a ton of fancy ingredients. In fact, you only need two things:
- Raw or liquid honey – Any variety works, but raw honey is best because it’s unprocessed and retains all the good stuff.
- Seed honey – This is just crystallized honey that acts as a starter to create that creamy texture. You can buy it, but if you’ve got an old jar of gritty honey lying around, it’ll do the trick.
That’s it! Just two ingredients. Simple, right?
Kitchen Tools to Prepare Whipped Honey
You don’t need a chef’s kitchen to whip up some whipped honey. Here’s what you’ll need:
- Mixing bowl – A medium-sized bowl works best.
- Hand mixer or stand mixer – This will help you combine the seed honey and liquid honey evenly.
- Spatula – For scraping down the sides of the bowl and transferring the honey to jars.
- Clean jars with lids – Store your whipped honey in these once it’s ready.
Most of these items are probably already in your kitchen, which means you’re just a few steps away from creating your very own creamy honey. Next, we’ll dive into the actual process. Spoiler alert: it’s easier than you think!
Step-by-Step Guide to Making Whipped Honey
Step 1: Choosing the Right Honey
The first step in learning how to make whipped honey is picking the perfect honey. While any type of honey works, raw honey is your best bet—it’s pure, unprocessed, and loaded with natural nutrients. Plus, raw honey crystallizes faster, which is exactly what we want for this recipe.
If you don’t have raw honey, liquid honey will do just fine. Pro tip: lighter honeys, like clover or wildflower, create a milder whipped honey, while darker honeys offer a richer, bolder flavor.
Step 2: Preparing Your Workspace and Tools
Before you start, get your tools and workspace ready. You’ll need:
- A clean mixing bowl
- A hand or stand mixer
- A spatula
- Seed honey and liquid honey
- Clean storage jars with tight lids
Clean tools ensure your whipped honey stays fresh longer. Oh, and don’t forget to clear some counter space—it can get sticky!
Step 3: Mixing and Aerating the Honey

Here’s where the magic happens:
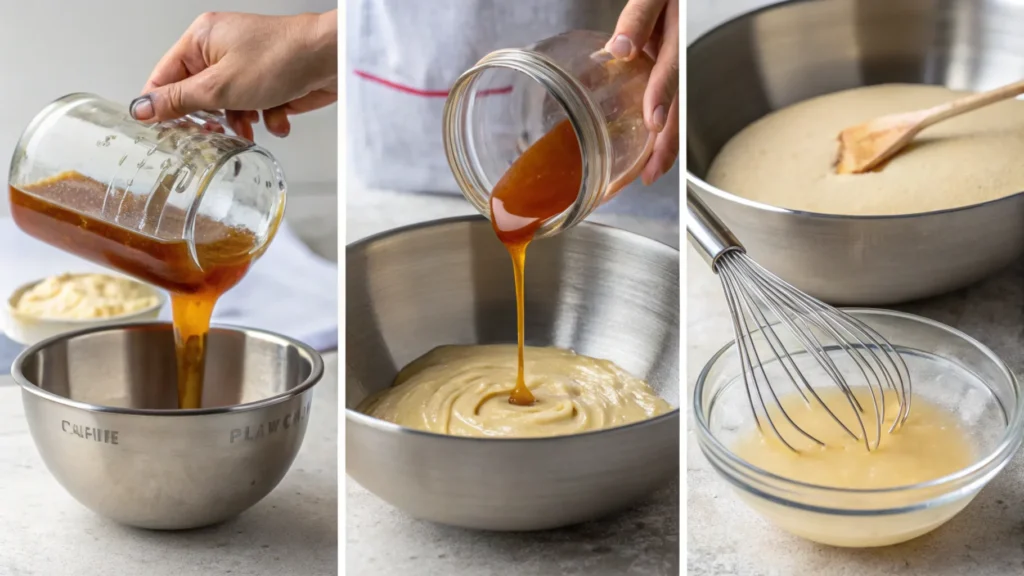
- Combine 1 part seed honey with 9 parts liquid honey in your mixing bowl.
- Using a mixer on low speed, blend the two together for about 5-10 minutes. Keep the speed steady; this encourages uniform crystallization.
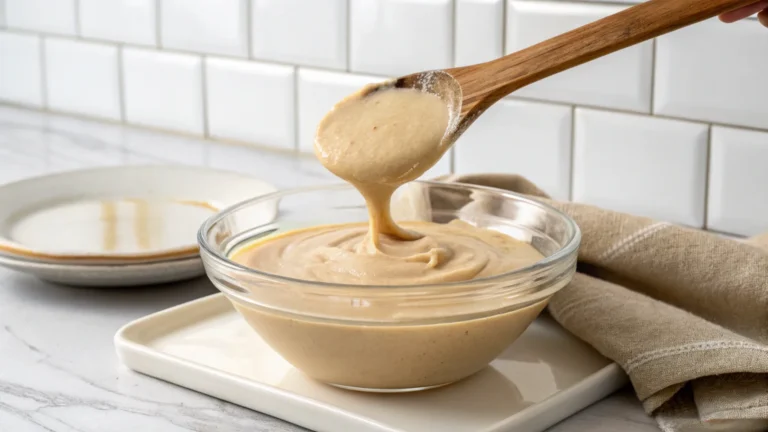
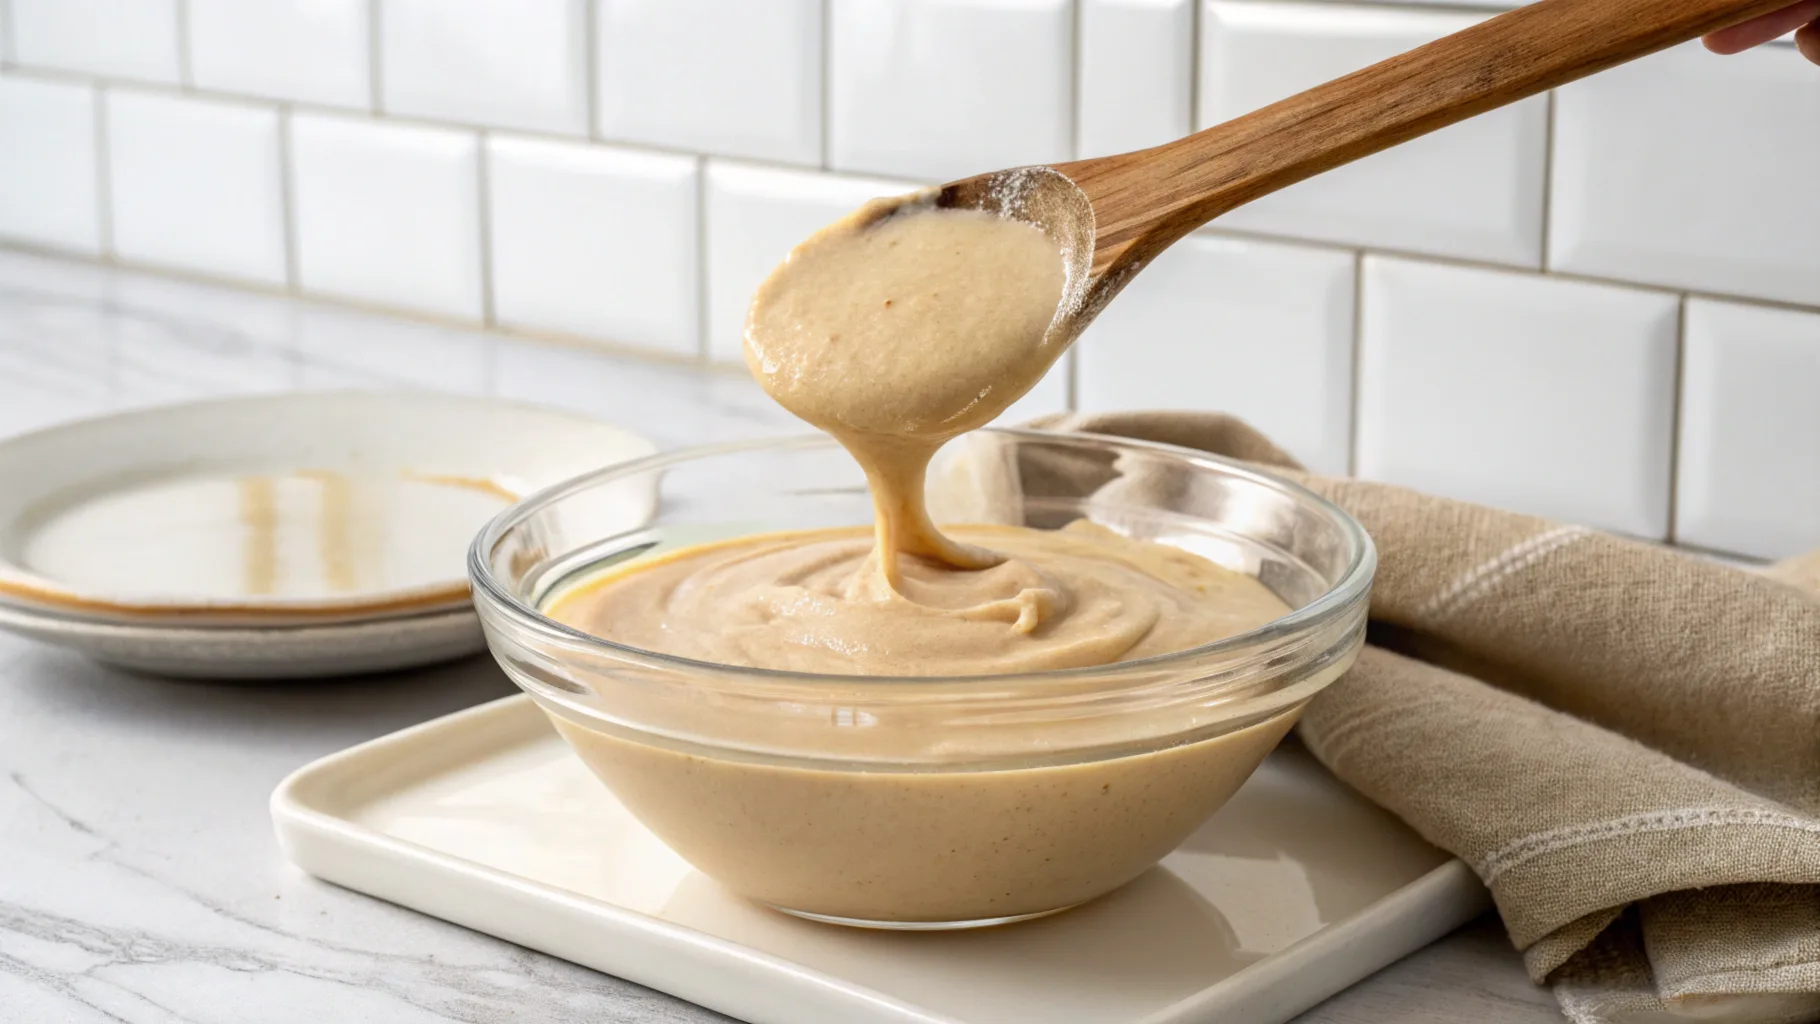
- Once the honey looks creamy and smooth, it’s ready for the next step.
Tip: Patience is key! Don’t rush or skip the mixing—it’s the secret to that velvety texture.
Step 4: Storing and Aging Whipped Honey
Transfer your whipped honey to clean jars, leaving about half an inch of space at the top. Seal the jars tightly and let them sit in a cool place (around 50°F is ideal) for 1-2 weeks. This allows the crystallization process to finish, locking in that creamy texture.
And there you have it—your homemade whipped honey is ready to enjoy! Store it at room temperature and avoid direct sunlight.
Creative Ways to Use Whipped Honey
In Beverages: Tea, Coffee, and More
Whipped honey dissolves beautifully, making it perfect for hot drinks like tea and coffee. Just swirl a spoonful into your mug for a touch of natural sweetness. Want something fancy? Stir it into a warm chai latte or hot cocoa for a gourmet twist.
As a Spread for Toast and Baked Goods

There’s nothing quite like slathering whipped honey on a slice of freshly toasted bread—it’s pure heaven. It’s also great on muffins, pancakes, waffles, or even scones. Since it doesn’t drip, it’s much less messy than liquid honey.
In Cooking and Baking Recipes
Whipped honey isn’t just a topping—it’s an ingredient! Use it in salad dressings, marinades, or glaze for roasted vegetables. You can also substitute it for sugar in recipes like banana bread or granola bars for a healthier alternative.
For more unique ideas and recipes, be sure to check out other amazing creations on Eminent Recipes!
Troubleshooting Common Problems
Why Is My Whipped Honey Too Runny?
If your whipped honey turns out too runny, don’t panic—it’s a common issue. The most likely culprit? Too much liquid honey in your mix. Remember, the key is a 9:1 ratio of liquid honey to seed honey. Using less seed honey slows down crystallization, leaving you with a thinner texture.
To fix this, simply add more seed honey to the mix and blend again. Also, ensure your storage area is cool; high temperatures can cause the honey to lose its creamy consistency.
What to Do If Whipped Honey Becomes Too Crystallized
On the flip side, overly crystallized whipped honey can feel gritty or chunky. This happens when the crystals grow too large during the process. To smooth it out, gently warm the honey in a water bath (not too hot!) and stir until the texture improves. Afterward, re-blend it with a bit of liquid honey.
To avoid this in the future, make sure your seed honey has fine crystals, as they’re the blueprint for that silky texture. Patience and precise measurements are your best friends here!
FAQs:
What Is the Shelf Life of Whipped Honey?
Whipped honey has the same impressive shelf life—it can last indefinitely when stored properly. Honey’s natural properties, like its low moisture content and acidity, act as natural preservatives. However, to maintain its creamy texture, store it in a tightly sealed container in a cool, dry spot. Be sure to avoid exposing it to heat or humidity, as these can alter the texture, turning it back into liquid or causing it to crystallize unevenly.
Can I Use Any Honey to Make Whipped Honey?
Yes, you can use virtually any type of honey for this, but some varieties work better than others. Raw honey is ideal because it’s unprocessed and crystallizes more readily, speeding up the process. If you enjoy a lighter, floral flavor, try clover or wildflower honey. For a richer, deeper taste, go with buckwheat or manuka honey. Combining different types can also produce unique profiles, so feel free to experiment!
Is Whipped Honey Healthier Than Regular Honey?
Nutritionally speaking, this honey variety is the same as the regular kind. The process of crystallizing doesn’t impact its natural enzymes or beneficial properties. It’s purely a change in texture! This honey is just as wholesome as its liquid version, but its creamy consistency makes it more versatile and convenient for recipes.
Can I Add Flavors to My Whipped Honey?
Of course! You can personalize this treat by adding natural flavors such as cinnamon, vanilla, or fruit powders. Simply mix them in while whipping. The result is a delicious topping that also makes a thoughtful gift.
Conclusion:
Whipped honey is one of those simple pleasures that’s surprisingly easy to create at home. With just a little patience and the right tools, you can transform plain honey into a smooth, creamy treat that’s perfect for everything from breakfast toast to gourmet cooking.
In this guide, we’ve covered every step, from understanding the science behind it to troubleshooting common issues. With a bit of practice, you’ll have jars of this creamy treat ready to share—or keep all to yourself (we won’t tell!).
Whether you’re adding it to tea, spreading it on baked goods, or gifting it to loved ones, this creamy treat is sure to become a household favorite. If you’re ready for more sweet inspiration, don’t forget to check out other fantastic recipes at Eminent Recipes. Now, go whip up something amazing!
Print
Homemade Whipped Honey
Whipped honey is a creamy, spreadable version of classic honey that’s perfect for elevating everyday dishes. Its silky texture and rich sweetness make it ideal for spreading on toast, drizzling over pancakes, or adding to tea. Quick and easy to make, it’s a delicious gourmet addition to your pantry.
- Total Time: 21 minutes
Ingredients
- 1 cup raw honey
- 1 tbsp powdered sugar (optional for texture)
Instructions
- Prepare the Honey: Place raw honey in a mixing bowl. If desired, add powdered sugar for a smoother texture.
- Whip the Honey: Using a hand mixer, beat the honey on medium speed for 5-7 minutes, or until it becomes pale and creamy.
- Store the Honey: Transfer the whipped honey into a clean jar. Seal tightly and store at room temperature.
- Serve: Use as a spread on bread, a drizzle over desserts, or a sweetener for beverages.
Notes
- Use Raw Honey: For the best flavor and texture, choose raw, unfiltered honey.
- Optional Additions: Customize your whipped honey by adding cinnamon, vanilla extract, or lemon zest for unique flavors.
- Storage Tip: Store whipped honey at room temperature in a sealed jar. Avoid refrigeration as it can harden the honey.
- Consistency Adjustments: If the honey becomes too stiff, re-whip it or mix in a small amount of warm water to restore the creamy texture.
- Serving Ideas: Pair with warm biscuits, drizzle over yogurt or oatmeal, or use as a glaze for roasted vegetables or meats.
- Prep Time: 1 mins
- Cook Time: 20 mins

